
Last updated November 15, 2026
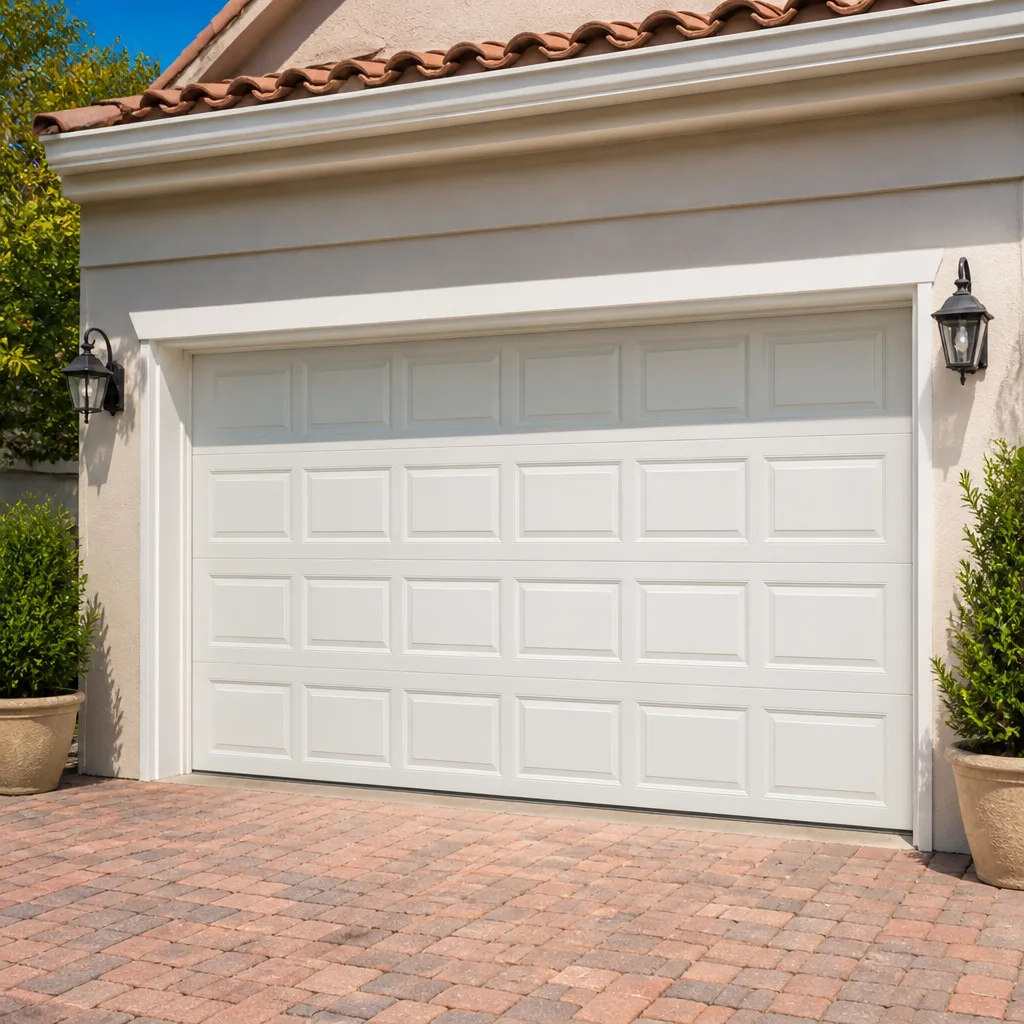 Raised-panel steel
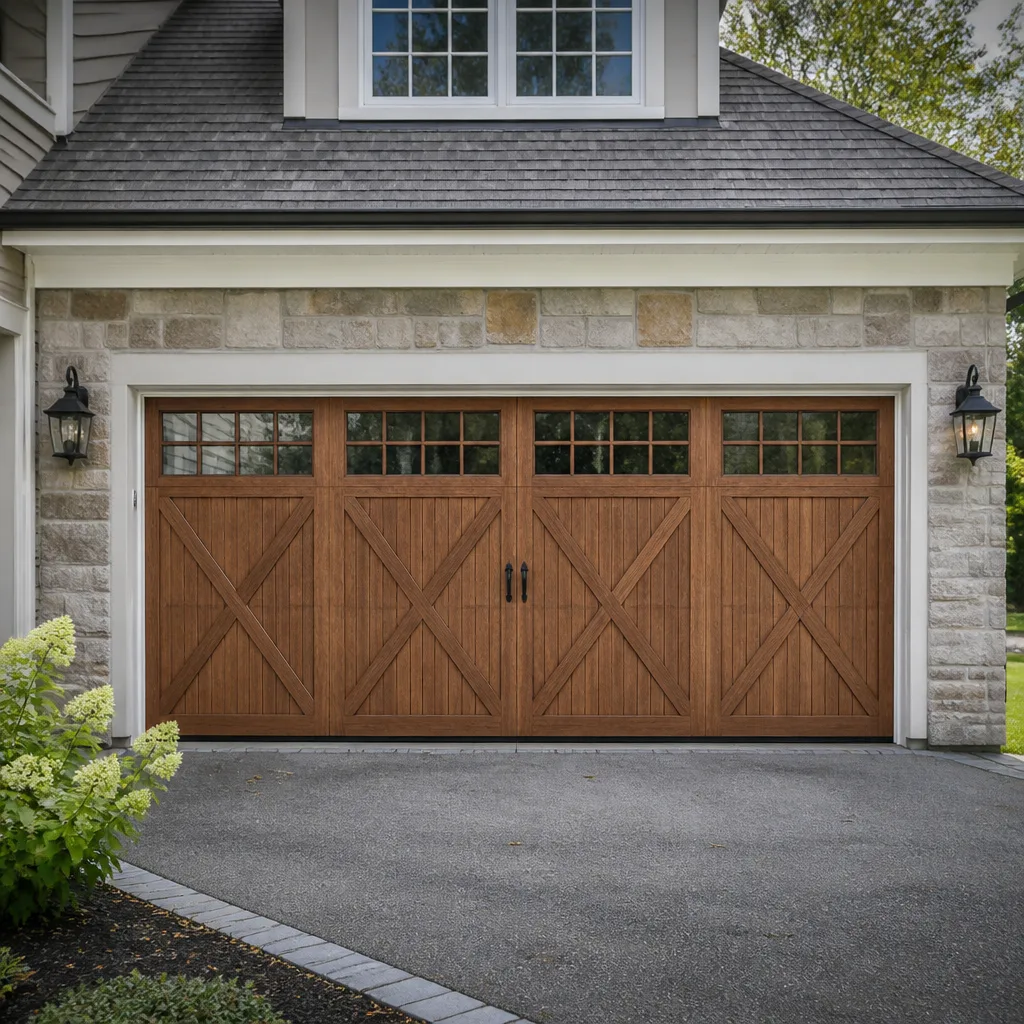 Carriage house
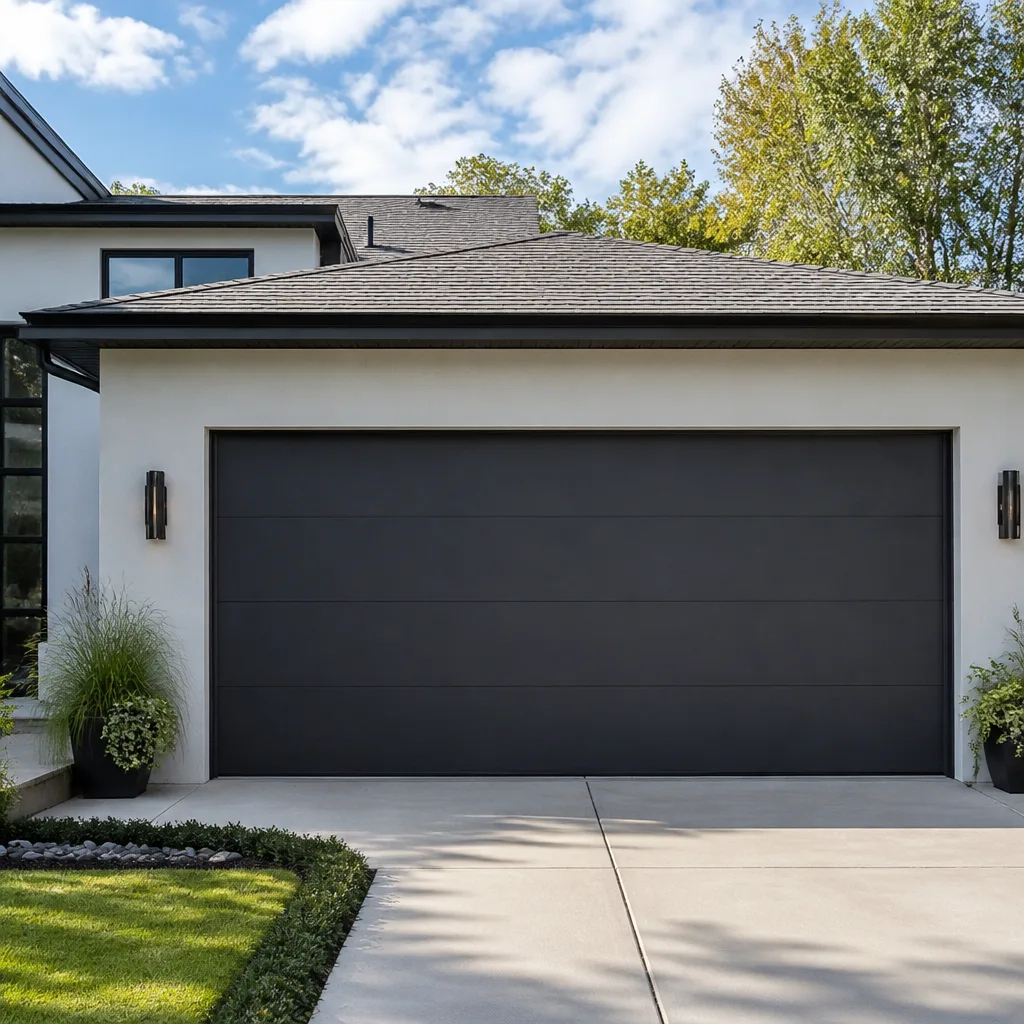 Modern flush
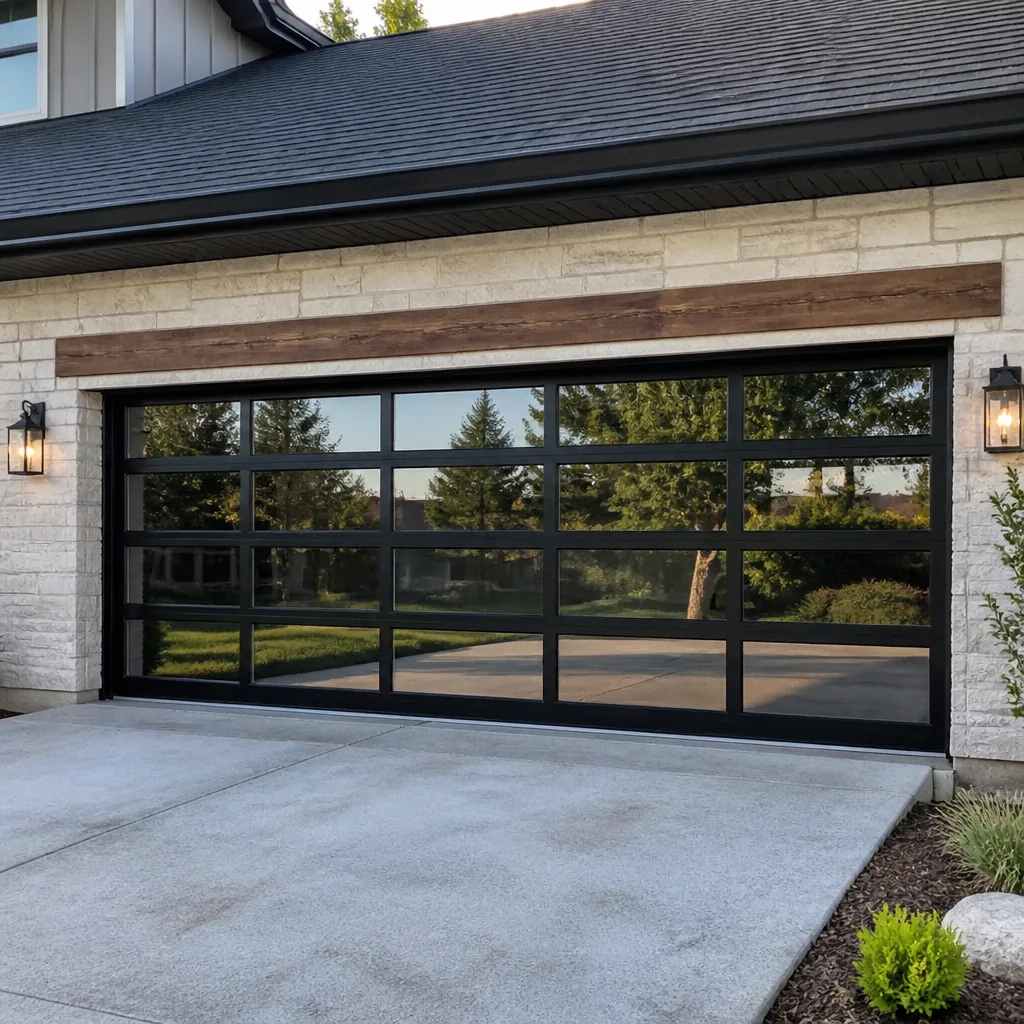 Full-view glass
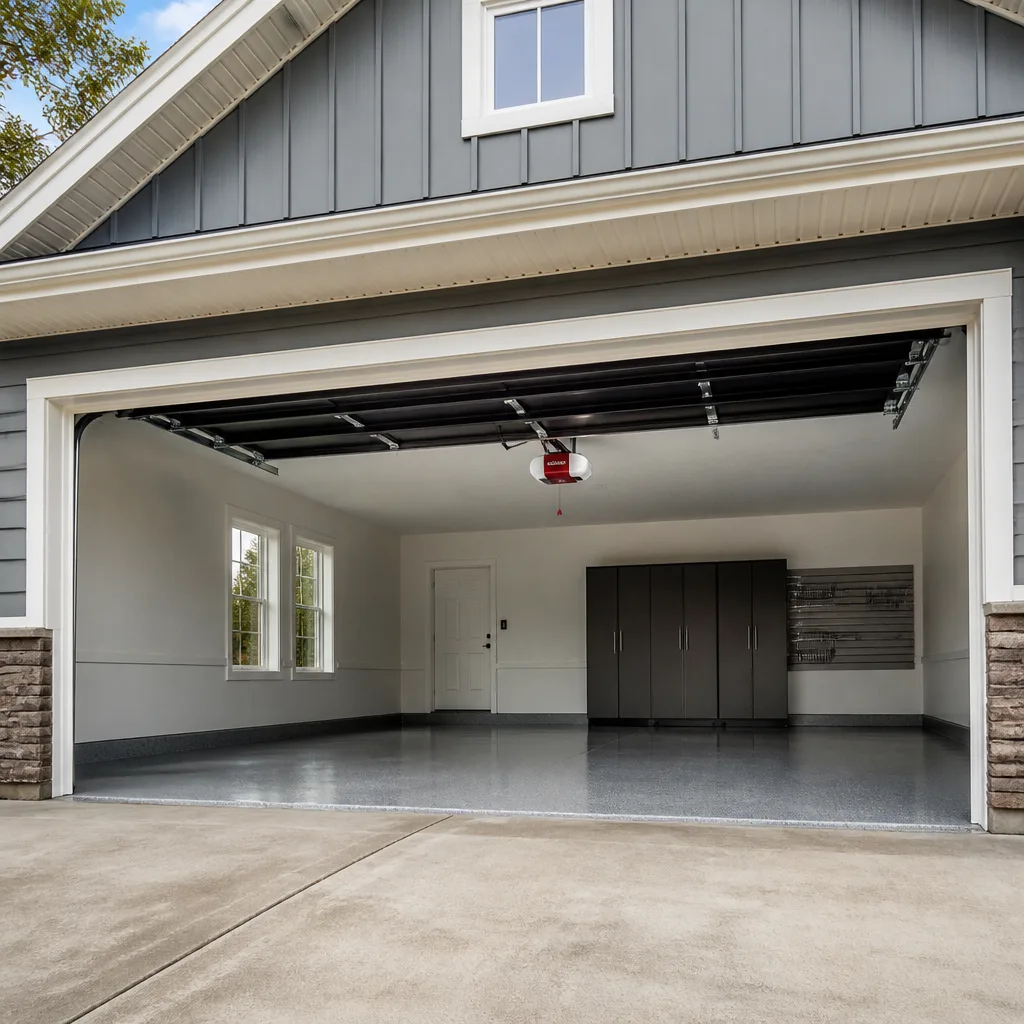 LiftMaster openers
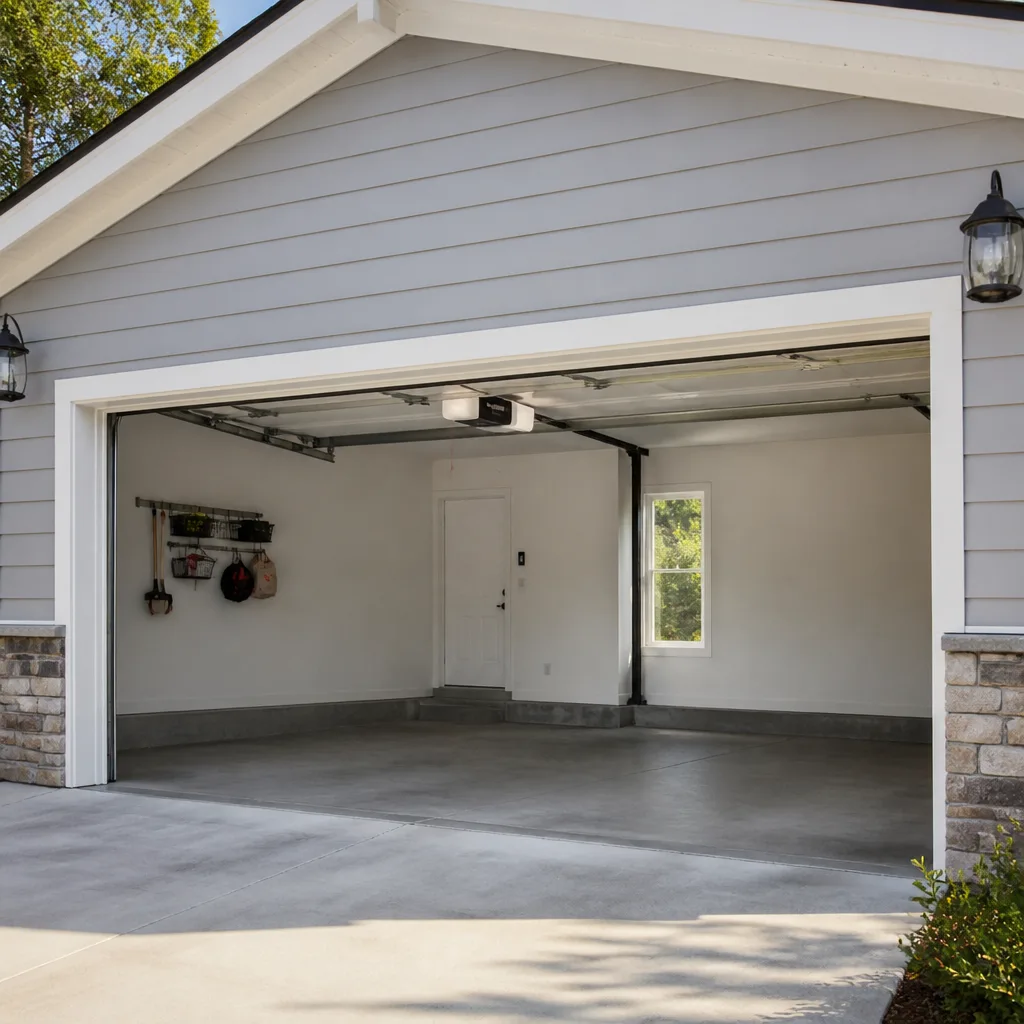 Chamberlain openers
Full 25-point door and opener safety check with every visit - springs, cables, rollers, tracks, and your LiftMaster or Chamberlain opener included
You get a price before we start. It does not change when the pro arrives.
Get your free estimateDIY vs Professional Garage Door: The Milwaukee Homeowner’s Decision Guide
Most garage door tasks are a fair fight between a capable homeowner and a pro. One is not. Torsion springs store enough energy to cause serious injury when they release unexpectedly, and they release without warning when they’re handled wrong. That’s not a liability disclaimer, it’s physics. Everything else on a garage door is a conversation: openers, rollers, weather seals, panels, sensors. Some of it you can handle on a Sunday. Some of it will cost you more to fix after you’ve tried. This guide sorts the work into three honest columns, explains what the tool cost does to your break-even math, and covers why Milwaukee’s older housing stock makes certain jobs harder here than a tutorial video suggests. We work on garage doors in Milwaukee every week, and we’ve seen what happens on both sides of that line.
Quick Answer
For most Milwaukee homeowners, cosmetic and adjustment work is reasonable to DIY: lubricating rollers and tracks, replacing weather seals, realigning safety sensors, and resetting a wall control. Spring work, cable work, and any repair that leaves the door hanging off one track belong to a professional, because the stored energy in a torsion system can injure you badly in under a second. Opener replacement sits in the middle: it’s doable for a confident DIYer in a standard-height garage, but it’s the task where Milwaukee’s older homes most often turn a weekend project into a two-week one. The dollar math usually favors a professional for anything beyond the small stuff, and the safety math always does.
Styles & brands we work with
- Raised-panel steel
- Carriage house
- Modern flush
- Full-view glass
- LiftMaster openers
- Chamberlain openers
Table of Contents
- The Three Columns: What’s Safe, What’s Risky, What’s Professional-Only
- What the Tools Actually Cost, and Why That Changes the Math
- What a Spring Replacement Video Doesn’t Show You
- Why Milwaukee’s Older Housing Stock Complicates Opener Installation
- When a DIY Repair Voids a Warranty
- What a Professional Brings Beyond the Tools
- Repair, Replace, or Call Someone: A Simple Decision Sequence
- When to Call a Professional
The Three Columns: What’s Safe, What’s Risky, What’s Professional-Only
Sorting the work this way is the fastest way to decide. We use the same three buckets when a homeowner asks us on the phone whether their job is worth doing themselves. The line between the first two columns is skill. The line before the third column is safety, and it doesn’t move based on how handy you are.
Safe to DIY (with the right approach)
- Lubricating hinges, rollers, and springs. A garage door lubricant, not WD-40, applied to the right points keeps things quiet and slows wear. No tools beyond a rag.
- Replacing the bottom weather seal. A rubber or vinyl seal that has cracked or flattened slides out of its retainer and slides back in. Cheap, quick, and it’s the single biggest fix for a drafty or wet garage floor line.
- Realigning safety sensors. If the door reverses immediately or won’t close, the sensors are often knocked out of alignment or have a spider web across the lens. Bracket adjustment with a screwdriver is fine.
- Testing the door balance and the auto-reverse. Disconnecting the opener and lifting the door halfway by hand tells you whether the springs are doing their job. Placing a roll of paper towel under the door tests the auto-reverse. Both are diagnostic, not repair.
- Cleaning and wiping down panels. Dirt and road grime accelerate finish wear. A hose and a soft brush are safe on steel and aluminum doors; avoid the pressure washer on wood or on any door with a baked-on finish you want to keep.
- Tightening the brackets and bolts you can reach with the door closed and the opener disconnected. Loose hinges and roller brackets are a common source of rattle.
- Programming a new remote or keypad. Every major opener brand has a pairing procedure in the manual. LiftMaster and Craftsman systems in particular are well documented.
Risky Without Experience
- Replacing rollers. The rollers themselves are cheap and the job looks simple, but on a door under spring tension, a roller that slips out while the door is halfway up can drop the door or pinch fingers. It’s manageable, but do it with the door fully closed and the opener disconnected, and be honest with yourself about whether you’re comfortable.
- Adjusting the opener’s travel limits and force settings. Getting this wrong makes the door push through an obstruction instead of reversing. It’s a small adjustment with real consequences if it’s set wrong.
- Replacing a single hinge or bracket on a sectional door. Straightforward on a door at rest, awkward and potentially dangerous if the door isn’t properly supported first.
- Installing a new opener in a low-clearance or non-standard garage. The electrical and mechanical work is fine; the measuring and the rail/bracket fit are where it goes wrong. Covered further down.
- Straightening a bent track by hand. A small bend can be worked back with care. Anything more than cosmetic, and the door can come off the track.
Professional-Only
- Any torsion spring work. This includes replacement, adjustment, and unwinding. The spring stores enough energy to break bones. There is no safe homeowner version of this job.
- Cable replacement. Cables are under the same tension as the springs and are what actually hold the door’s weight. A cable that snaps while your hand is near it can cause serious injury.
- Replacing or repairing a bottom bracket. It’s the anchor point for the cable and the most loaded component on the door after the springs.
- Replacing a full track or a door section that has come off the track. Getting a door back on track and correctly tensioned is a two-person job with the right tools, and a misaligned door damages itself quickly.
- Panel replacement on a damaged sectional door. Manufacturers change panel profiles, and a replacement panel that doesn’t match the door’s spring tension can throw the whole system out of balance.
If you take one thing from that list, take this: spring and cable work is a professional task regardless of your experience, and everything else is a judgment call about your time. Our garage door repair service exists mostly because people try the third column and get hurt or make it worse.
What the Tools Actually Cost, and Why That Changes the Math
Here’s the part of the DIY conversation most guides skip. For a one-time repair, the tools often cost more than the repair. If you’re doing a single job and won’t use the tool again, the ROI calculation is straightforward: add up what you’d spend on tools and materials, then add the value of your weekend, then compare it to a written estimate. Many homeowners find the gap is smaller than they expected.
The tools a genuine spring replacement requires, for reference, are not in most garages:
- Torsion winding bars. Two solid steel bars sized to the winding cone. Not something you can substitute with a screwdriver, and not something to buy once and use once.
- A proper ladder rated for the height of the springs. Most garage ceilings mean a stepladder isn’t tall enough; you’ll need an extension ladder, set safely, on a level floor.
- A vise grip or locking pliers rated for holding the shaft. The door must be held in place while you work, and the wrong tool here means the shaft rotates and the door drops.
- A socket set and adjustable wrenches sized for the hardware on your specific door.
- Replacement springs matched to the door’s weight and cycle rating. Springs come in many wire gauges and lengths, and the wrong one changes how the door operates and how long it lasts.
- Safety glasses and heavy gloves. Not optional on this job.
Some of those tools cost more than a typical repair estimate, and none of them will ever be used again if you’re not planning to work on doors regularly. That’s the argument for hiring out the third column, and it’s not about your skill. It’s about the tool investment making no sense for a single job.
The smaller jobs are different. A weather seal kit, a can of proper lubricant, and a screwdriver set will cover half the safe-to-DIY list above, and those tools get used on other things around the house. That’s where DIY earns its keep.
What a Spring Replacement Video Doesn’t Show You
Watching a spring replacement tutorial is genuinely useful. It shows you what the parts are, how the door is held in place, and roughly how the work proceeds. But the video is edited, and the parts a video can’t show you are exactly the parts that matter.
What the video doesn’t show
- How fast a wound spring lets go. A tutorial is filmed at normal speed. The failure is much faster than that. The bar in the video turns smoothly; in real life the spring can jump the bar, and your hand follows it. This is the specific injury risk that makes the math straightforward regardless of skill level.
- The strength required to set a bar in the winding cone without losing it. On a heavy door, getting the bar seated fully takes firm, confident force. A homeowner who’s uncertain and hesitant is more likely to have the bar slip than one who has done it many times.
- What a worn, misadjusted, or incorrectly-rated spring feels like on the door. A pro can tell from the door’s behavior whether the springs are matched to the door’s weight. The video assumes the parts are right and the door was properly set up to begin with.
- What happens if you get halfway through and stop. A door held open on a half-wound spring is in an unstable state. The video never gets to that point; a real job might.
- The follow-up adjustments. A new spring changes the door’s balance. Cables, travel, and opener force settings often all shift, and each of those adjustments has its own consequences if done wrong.
We’re not telling you the videos are useless. We’re telling you they’re a preview. The skill in spring work isn’t knowledge, it’s the hand strength and the accumulated feel for when something is about to go wrong. That takes repetition, and a homeowner only does the job once.
Why Milwaukee’s Older Housing Stock Complicates Opener Installation
A standard garage in a newer subdivision is an easy opener install. Milwaukee’s older neighborhoods are a different story. Plenty of homes on the east side and in older parts of the city have detached garages or garages built into a basement or a grade-level space, and the ceiling height, the header height, and the clearance behind the door weren’t designed around a modern opener.
The specific problems older Milwaukee garages create
- Low clearance. If the ceiling is close to the door’s travel, the opener has to hang differently, or the door needs a low-clearance installation. The rail-setup and the mounting hardware differ, and the manual instructions are often written for a standard clearance.
- Non-standard header heights. Openers are mounted to brackets at specific heights relative to the header and the door’s travel. An unusual header height means measuring carefully and often fabricating a mount point. If the bracket is mounted wrong, the door opener produces too much or too little force, and the auto-reverse may not work correctly.
- Close-to-ceiling doors with no room for a rail. Some older Milwaukee garages have doors that need a jackshaft opener, which mounts to the wall next to the shaft rather than the ceiling. That’s a different installation entirely, and not every homeowner knows to specify it when they buy.
- Older wiring and openers in unfinished spaces. A garage built into a basement often already has a receptacle in place, which makes the install easier. A detached garage might not. Locating power or placing the opener in a different spot is a decision the homeowner has to make before the unit is out of the box.
- Non-standard door widths and heights. A door that isn’t a standard size means the opener’s safety beams and the wall control placement may need to be relocated, and the door may need adjustment to run smoothly.
None of this makes opener installation impossible for a DIYer. But in Milwaukee it’s the task where the project most often gets stalled. A confident homeowner with a standard garage does fine. A homeowner in an unfamiliar older garage should measure first and probably call for a free measure before buying the unit. Our garage door opener repair team covers both legacy and smart-home/Wi-Fi-enabled openers, and we work on the brand already in your garage, including LiftMaster, Chamberlain, Genie, and Craftsman systems.
When a DIY Repair Voids a Warranty
Warranties vary by manufacturer and by the specific component, so we can’t give you a blanket rule. What we can tell you is which situations deserve a closer look at the paperwork before you start.
Documentation that matters
- The opener’s manual. Most opener warranties exclude damage caused by improper installation, and installers or manufacturers’ support lines may ask who installed the unit if a claim is filed.
- The door’s warranty terms. Door warranties frequently cover the panels, the finish, and the structure separately, and each has its own conditions. Some exclude damage from unauthorized modification, and a spring replacement done without matching the door’s rated load can be treated that way.
- The specific component. A spring, a cable, and an opener motor are three different warranties with three different conditions. Ask which one applies before you start.
- The purchase record. If you can show the date of purchase and the model number, you have a paper trail if a component fails later. If the retailer has it on file under your account, even better.
Here’s the practical approach: before you take something apart, check whether you’re still inside the coverage window on that component, then check the exclusions. If the part is covered and the job isn’t on the safe list, letting a technician handle it keeps the warranty intact and gives you documentation if the new part fails later. If the part is out of warranty, DIY is a practical choice. And if you’re on the fence, ask us before you buy anything. A short call prevents the worst outcome, which is spending money on parts and labor for a job you then have to redo.
What a Professional Brings Beyond the Tools
The tool cost is the easy argument. The better argument is the diagnosis. A garage door is a system: springs, cables, tracks, rollers, the door itself, and the opener all interact. A problem you experience as “the door is slow” or “the opener is grinding” can start anywhere in that system, and fixing the wrong component wastes money and time.
In our experience, the most common misdiagnosis is blaming the opener for a door problem. An opener that strains, reverses, or grinds is often doing its best against a door whose springs have relaxed, whose rollers are dry, or whose tracks have been knocked out of alignment. Replacing the opener is expensive and doesn’t fix the door. A technician checks the door’s balance and travel first, then the opener, and tells you which one is actually the problem. That’s the diagnostic step that a parts swap skips.
There’s also the brand familiarity piece. An opener assembled by Genie, a Raynor door, a Wayne Dalton system, and a Craftsman unit all have different hardware and oddities. A technician who works on those brands regularly knows the specific quirks of the model in your garage, and brings the right parts on the first visit instead of asking you to schedule a second one. Our technicians have up to 15 years of experience across those systems, and that’s what shows up as a shorter repair. When we give you an estimate, it’s written down, agreed before any work starts, and the written estimate is the price.
Repair, Replace, or Call Someone: A Simple Decision Sequence
Once you’ve decided to involve a professional, the next question is whether to repair or replace. Here’s how the decision usually runs. This is a diagnostic sequence, not a set of instructions to do yourself.
- Is the door safe to operate? If the door is visibly off its track, or the springs are broken (you’ll see a clear gap in the spring or the door won’t lift by hand), stop operating it and call. Running a door on a broken spring damages the opener.
- What’s the age of the springs, in cycles, not years? Most springs are rated in cycles. If you’re past the rating and the door has been adjusted or repaired a few times, replacement makes more sense than repair.
- Are the panels themselves damaged? A single dented or cracked panel can sometimes be replaced. Rust perforation or damage across multiple sections usually means a new door.
- Is the opener matching the door? A modern opener on an older door is fine if the door is balanced. If the opener is failing and the door is otherwise in good shape, a new opener is the cheaper path.
- Do you want to stay with the brand you have? This matters for parts availability and for whether a technician has to modify the mounting hardware. Sticking with the manufacturer you already own usually simplifies both.
- Is the door safe to keep operating while you decide? If you’re unsure, get the assessment before you use the door again. Honest diagnosis before any work begins is the point.
If you’re not sure where your door lands on that sequence, a free estimate through Honor Garage Door Repair is the simplest way to find out. We’ll tell you what’s wrong, what it will cost, and what we’d do in your position. We’re built around your door, not our inventory, and we work on the brand already in your garage.
Common Mistakes to Avoid
- Trying to adjust a torsion spring yourself. This is the single most dangerous thing a homeowner can do on a garage door. If the spring is broken or the door is heavy, stop and call.
- Replacing a spring with one that “looks the same.” Springs are matched to the door’s weight by wire gauge and length. A spring that fits but isn’t rated for the door changes the door’s behavior and wear.
- Cutting the safety sensor wires to “fix” a reversing door. The sensors are a safety device. If they’re acting up, align them or replace them; never bypass them.
- Buying an opener before measuring the garage. In Milwaukee’s older homes this is the most common stalled project. Measure the ceiling height, the header height, and the clearance behind the door before you shop.
- Tightening a track that’s been bent by hand. Small bends can sometimes be worked back. Larger ones weaken the track and the door can come off. Get it checked first.
- Using WD-40 on the springs instead of garage door lubricant. It attracts dust and doesn’t stay where it needs to. The right lubricant is cheap and the wrong one is a habit.
- Ignoring the door’s balance test. A door that won’t stay open at the halfway point is telling you something. Disconnect the opener and test it by hand before you assume the opener is the problem.
See the difference
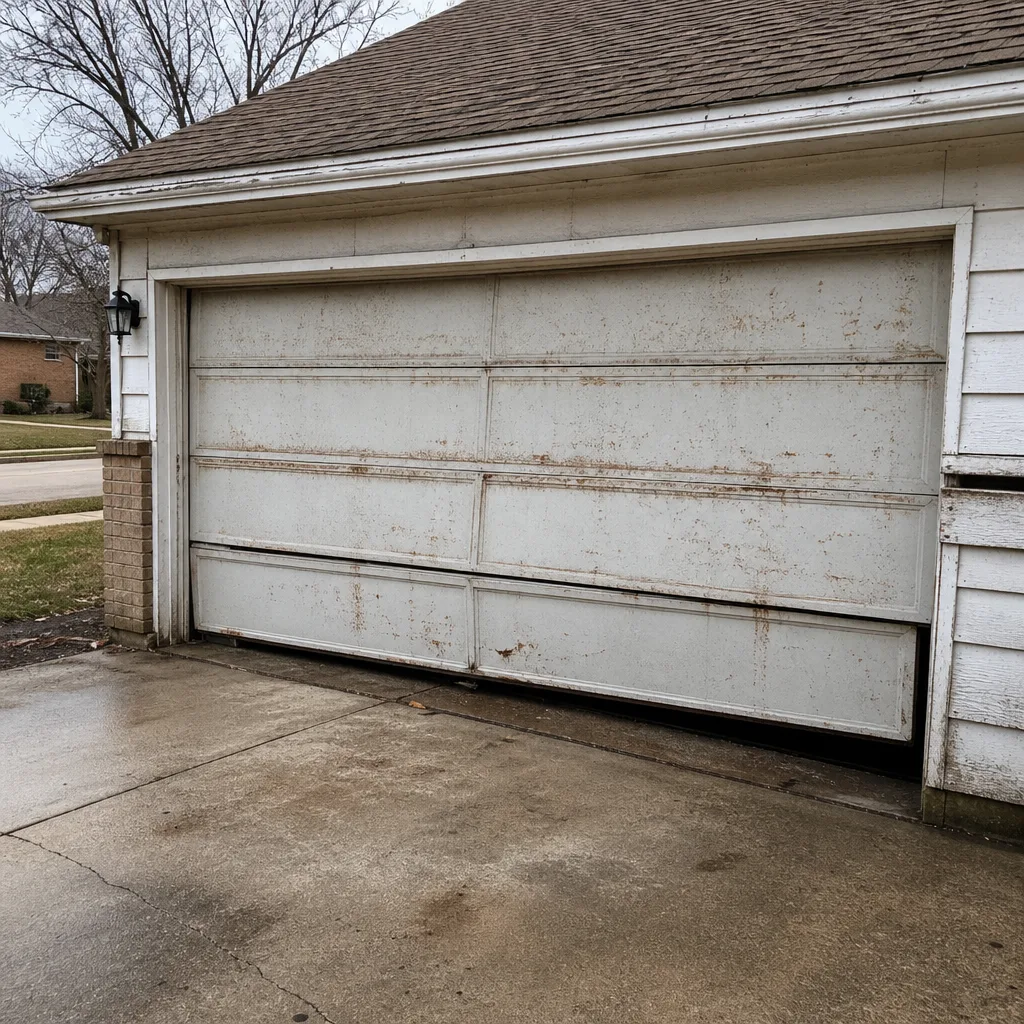 Before
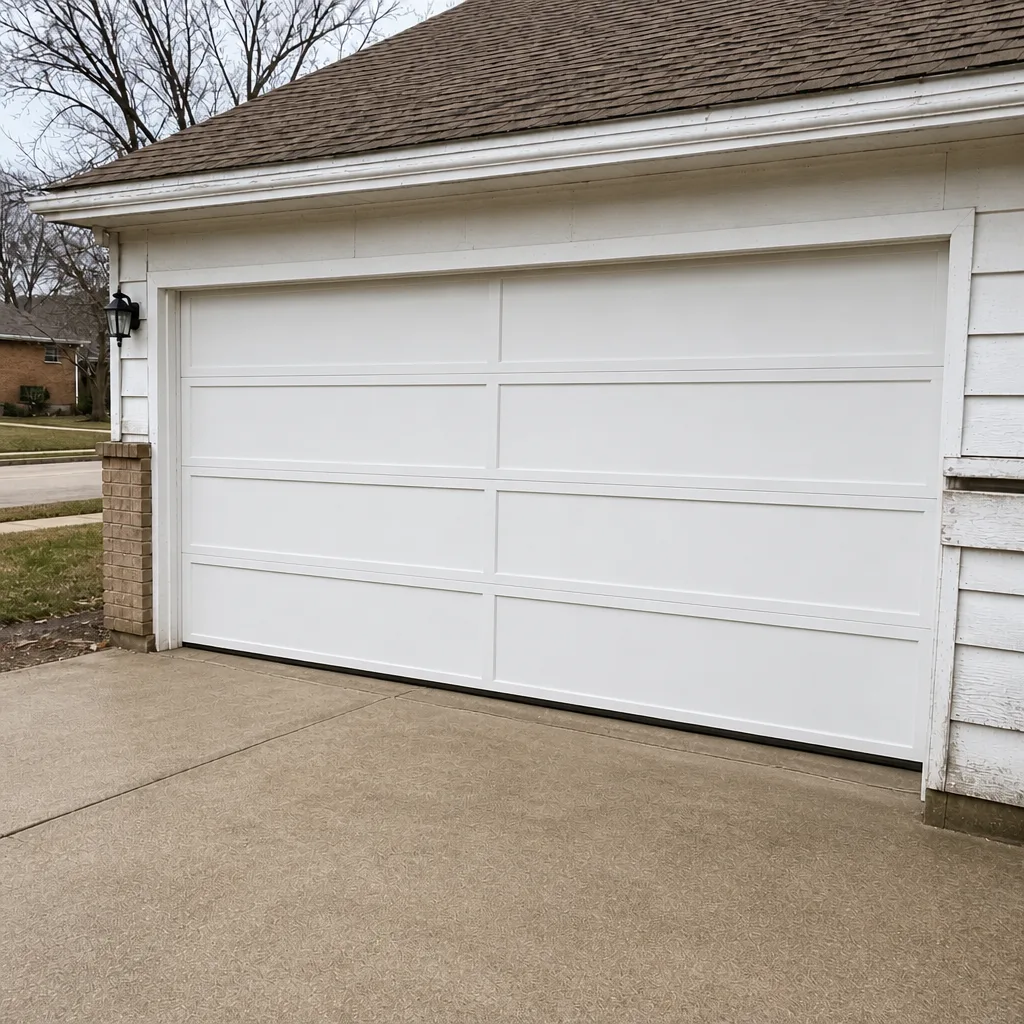 After
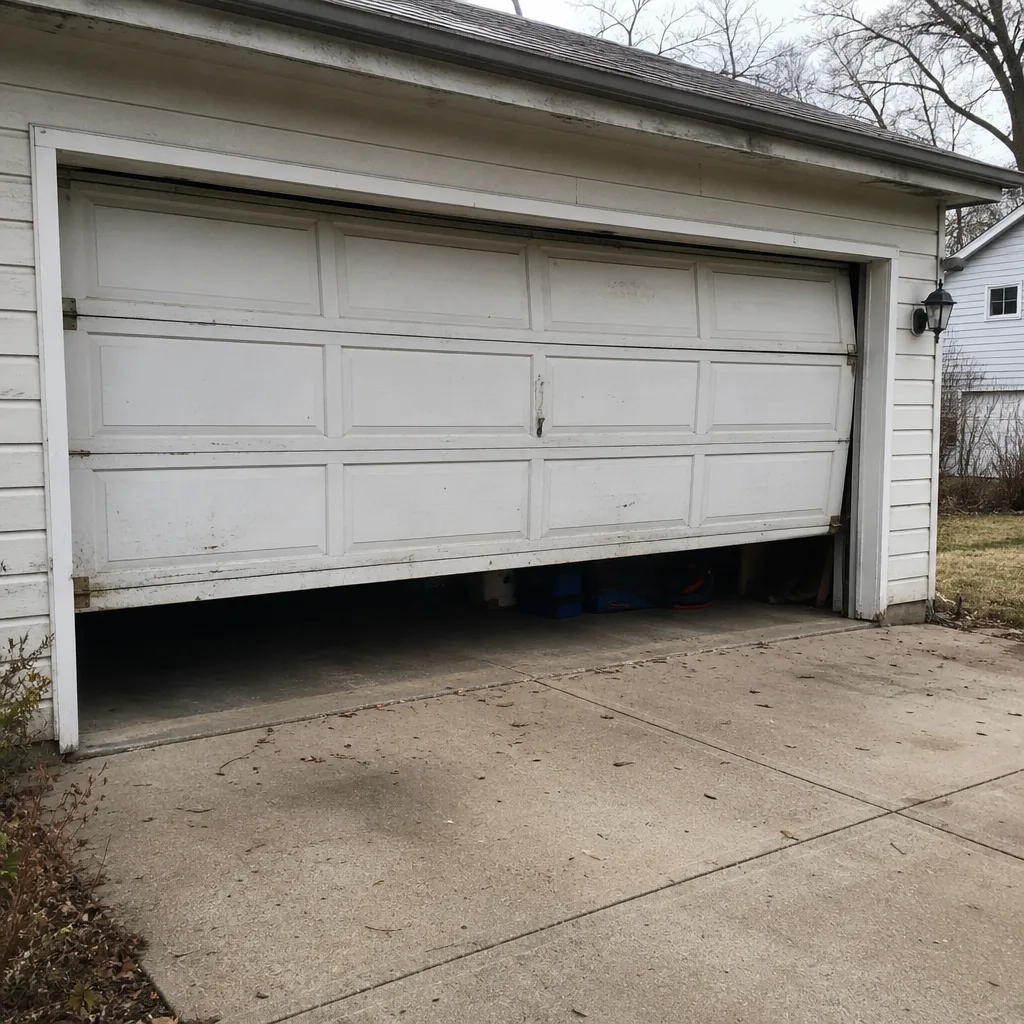 Before
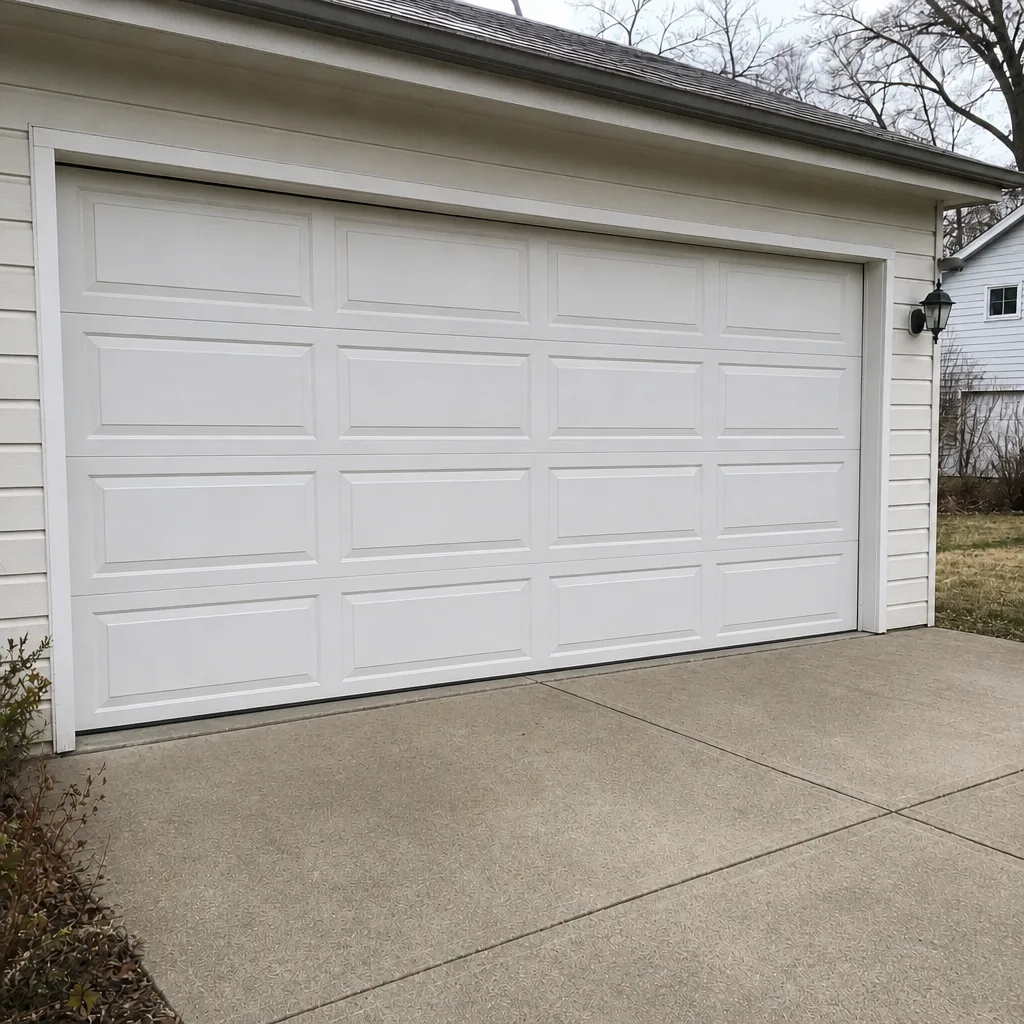 After
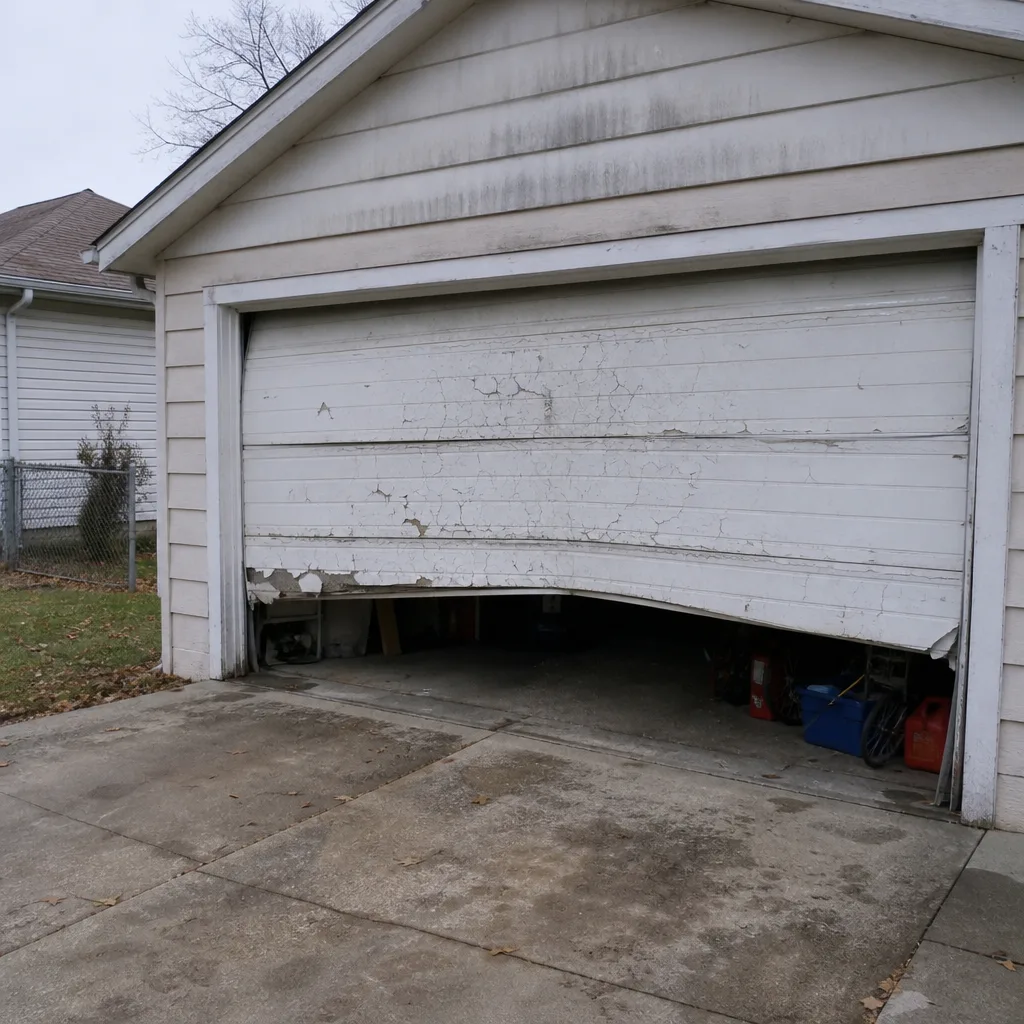 Before
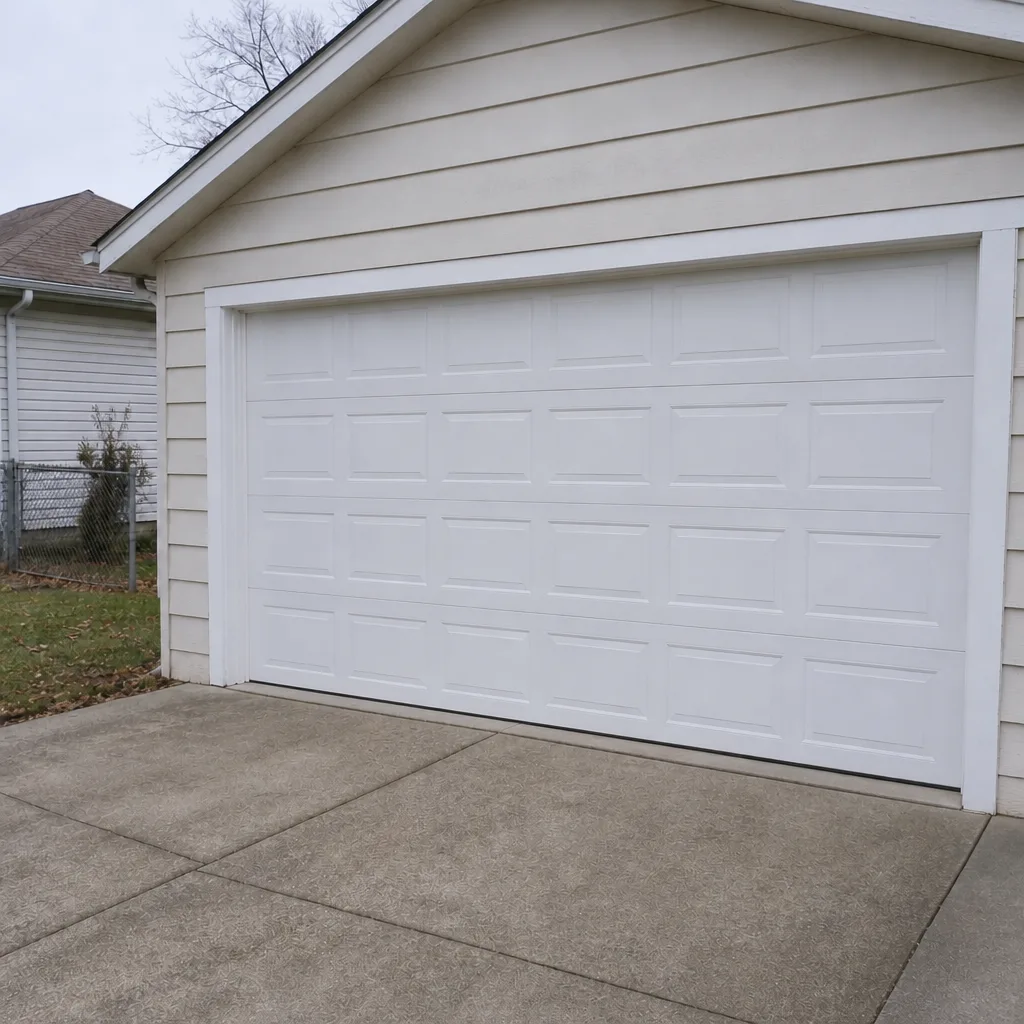 After
When to Call a Professional
Call us for anything involving a torsion spring, a cable, a bottom bracket, or a door that’s come off its track. Call us for any repair that shows obvious damage to the panels or the structure, and for opener work you’re not confident about. And call us before you buy a new opener in an older Milwaukee garage, so you can measure the space with someone who installs them. The safe, honest answer for most of the list above is that a professional is worth the difference. It’s not about whether you’re capable, it’s about which jobs carry a risk that doesn’t fit a weekend project. If you’re not sure which column your job is in, call and ask. We’ll tell you straight. If it’s a small job you can handle, we’ll say so. If it’s one we’d want to do, we’ll explain why.
Honor Garage Door Repair offers free estimates in Milwaukee. Call (866) 942-7695. We answer 24/7. Fast dispatch from 7am to 7pm, Sunday through Friday.
Frequently Asked Questions
Yes for cosmetic and adjustment work, no for spring and cable work. Lubricating the moving parts, replacing the weather seal, realigning the safety sensors, and adjusting travel limits are reasonable DIY tasks. Torsion spring replacement, cable replacement, and any bottom-bracket work carry a real injury risk and belong to a trained professional regardless of your experience. Call (866) 942-7695 for an estimate on anything in that second group, free of charge.
Spring repair pricing is set by a written estimate after a technician checks the door, and it depends on the spring, the door’s weight, and the number of springs on the shaft. Most doors carry a matched pair, so a pair costs about twice the price of one spring. The written estimate is the price and it’s agreed before any work starts. Call (866) 942-7695 for an exact figure; estimates are free.
Often yes, but it depends on the scope of the work and the current requirements, which can change. Ask the city’s building department before you schedule anything. A new door or a structural change is the case most likely to need one; a repair or a spring replacement usually isn’t. We’ll tell you what we know when we’re on site.
No. If anything, a documented professional repair preserves the warranty trail on the components it touches. The reverse is sometimes true: some manufacturer warranties exclude damage from improper installation or unauthorized modification, so a DIY job can put the coverage on that component at risk. Check your manual before you start any repair that touches a component still under coverage.
Grinding is usually a door problem, not an opener problem. Dry rollers, a track out of alignment, or relaxed springs make the opener strain. Start with lubrication and a balance check of the door itself, then call a professional if the grinding continues. A technician will check the door before touching the opener, so you don’t pay for a new unit you didn’t need. Call (866) 942-7695 to book a diagnosis; estimates are free.
Single-spring replacement is possible, but a matched pair is usually replaced together because the two springs wear at the same rate and a new spring beside an old one tends to cause imbalance. A technician will check both before recommending. The written estimate covers whatever gets replaced, and the price is set before any work starts. Call (866) 942-7695 to book a free estimate.
A repair estimate covers getting a working door back to operating condition. An installation estimate covers a new door, a new opener, or both, and involves measurement and scheduling rather than same-day service. Both estimates are free. Call (866) 942-7695 and tell the team which one you’re after, and they’ll set up the right visit for your schedule, Sunday through Friday, 7am to 7pm.
The Bottom Line
The DIY vs professional question on a garage door comes down to two lines. The first is skill: if you’re comfortable with tools, the safe-to-DIY list is genuinely yours to handle, and the tool cost for the small jobs is trivial. The second is safety, and that line doesn’t move. Torsion springs and cables carry stored energy that can injure you badly in under a second, and no amount of confidence changes that. Everything else is a judgment call, and Milwaukee’s older housing stock is a real reason to measure carefully before you start an opener install. When you want a straight answer, we give one. Call (866) 942-7695. We answer 24/7. Fast dispatch from 7am to 7pm, Sunday through Friday. The estimate is free and the price is set per job in writing, before any work starts.
Written by the team at Honor Garage Door Repair.