
Last updated November 15, 2026
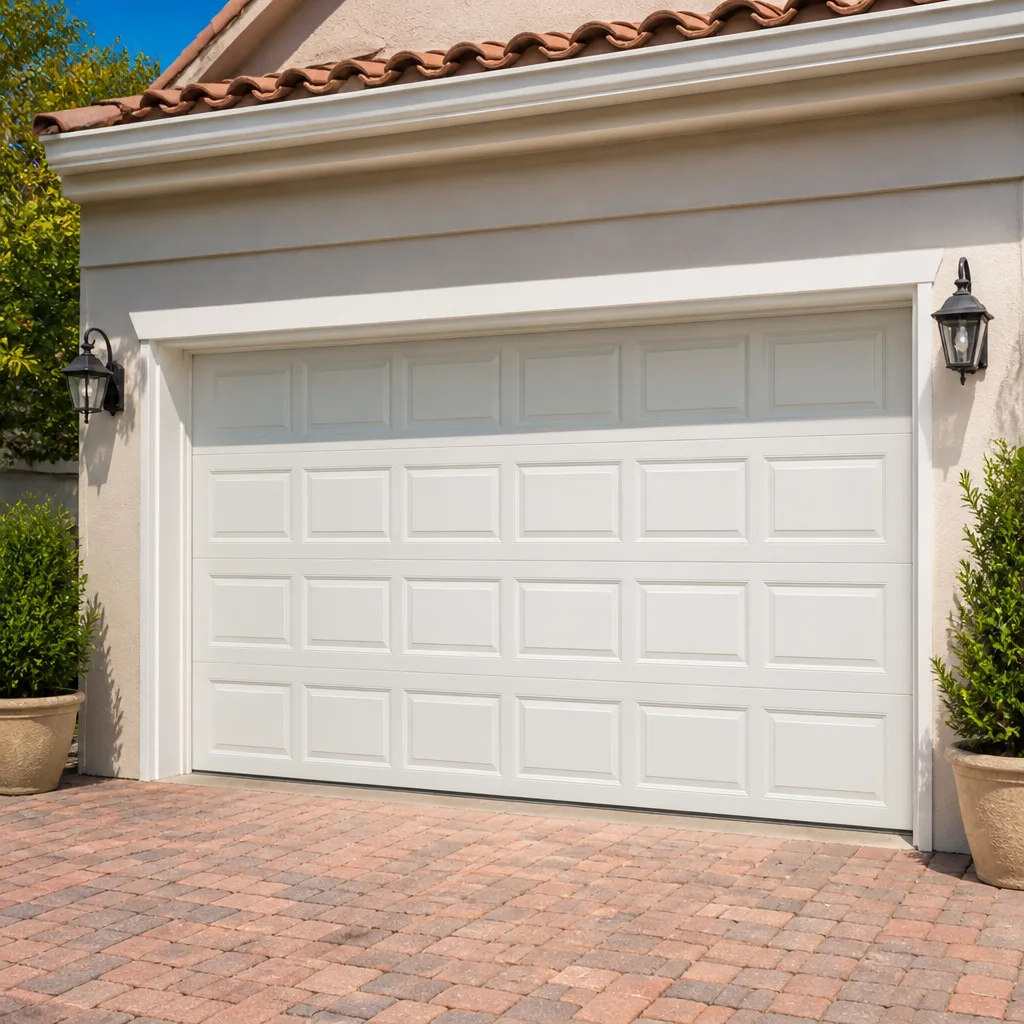 Raised-panel steel
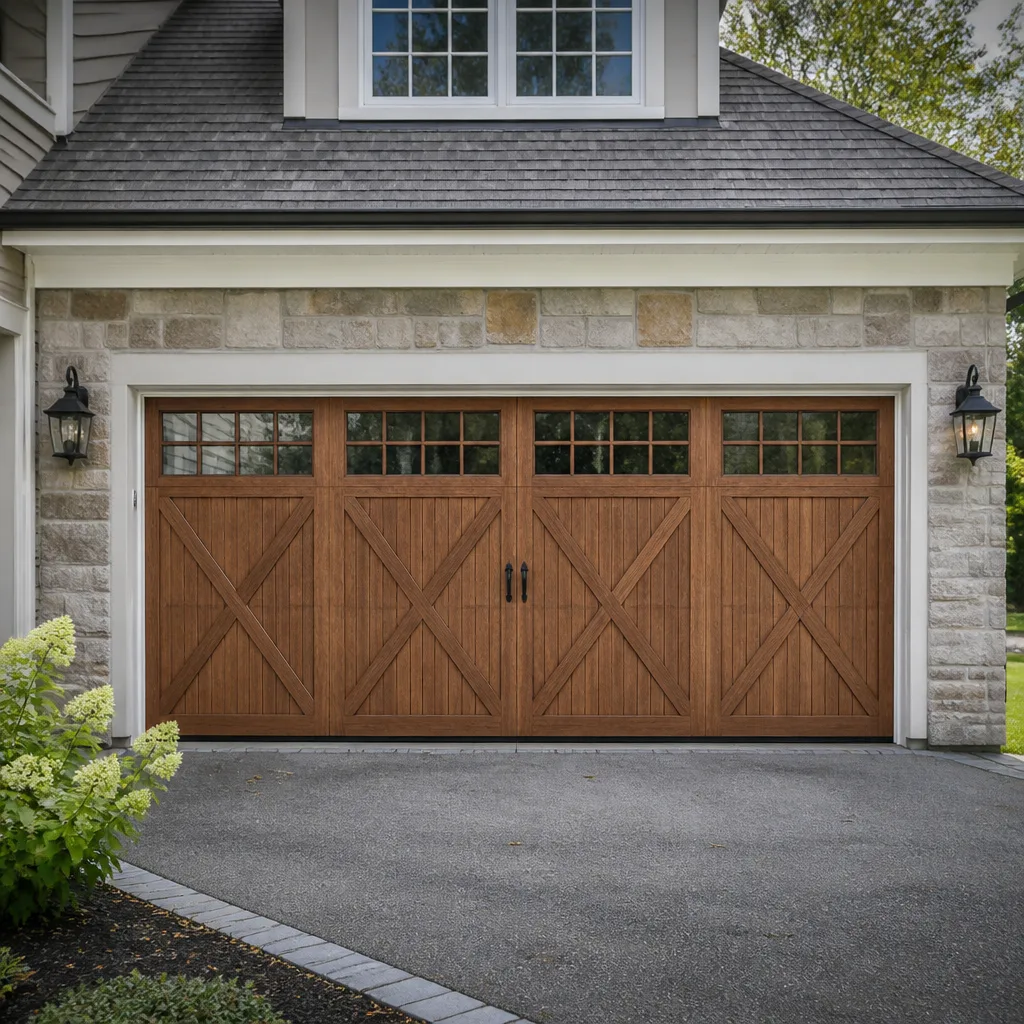 Carriage house
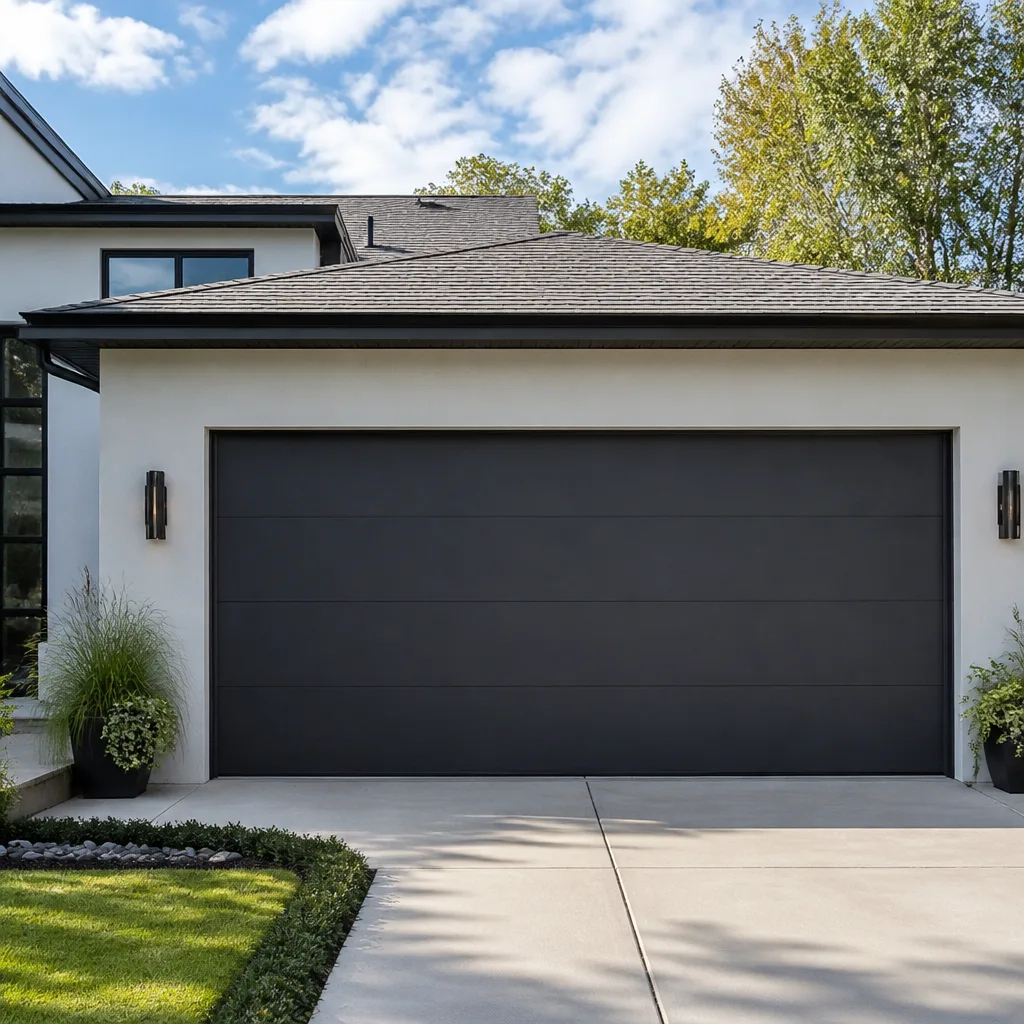 Modern flush
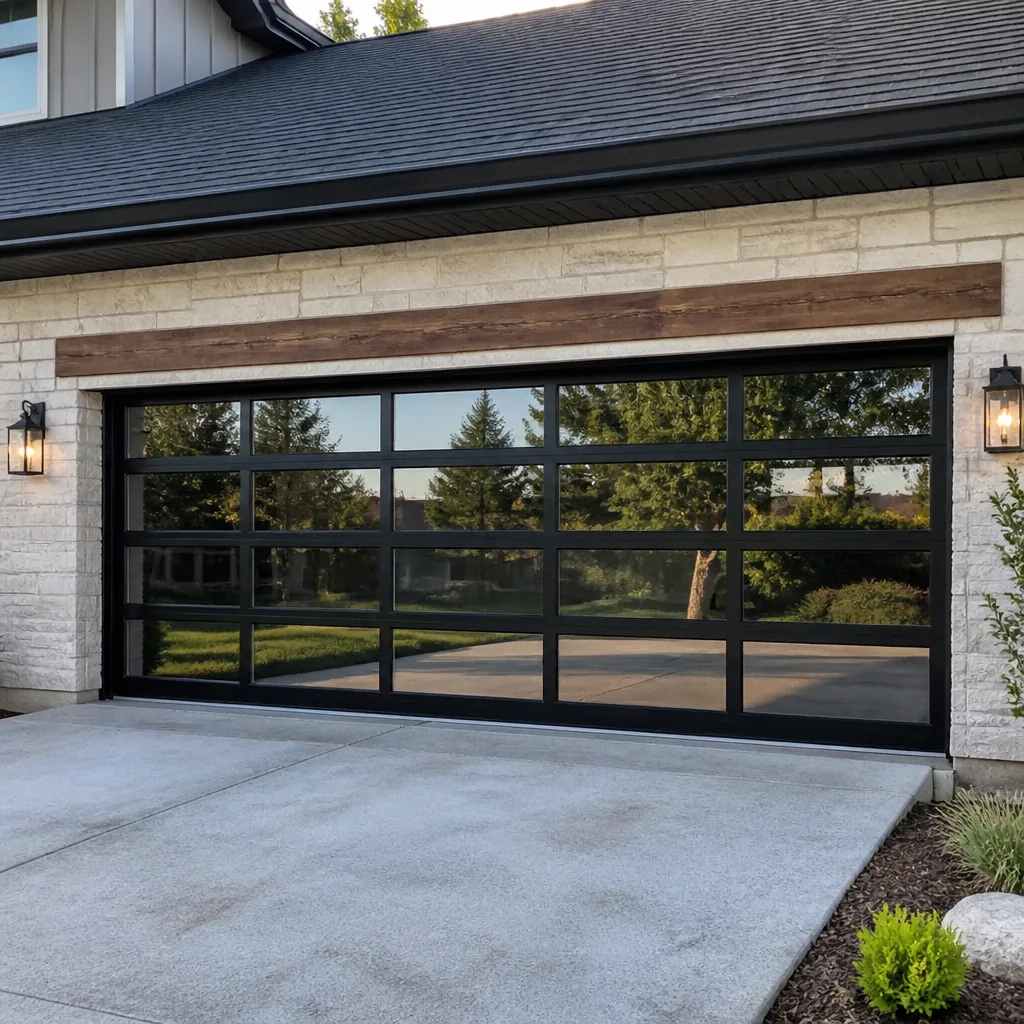 Full-view glass
 LiftMaster openers
 Chamberlain openers
Full 25-point door and opener safety check with every visit - springs, cables, rollers, tracks, and your LiftMaster or Chamberlain opener included
You get a price before we start. It does not change when the pro arrives.
Get your free estimateGarage Door Repair Maintenance Checklist for Milwaukee Homeowners
Most garage door maintenance checklists get copied from manufacturer PDFs written for a median American climate, and that’s a problem here. In Milwaukee, the door takes its hardest hits between November and March, when a torsion spring that’s been quietly losing lubrication for two seasons has to carry a garage full of cold air and a frozen bottom seal. The number one source of emergency calls in cold climates isn’t a failed opener. It’s deferred lubrication that turned a slow problem into a snapped spring at 6 a.m. in January.
What follows is a maintenance schedule ordered by Milwaukee’s actual seasons, not a generic spring/fall split. You’ll get month-by-month tasks you can safely do yourself, the right and wrong lubricants for sub-zero temps, the bottom-seal test most homeowners skip before the first hard freeze, and clear handoff criteria so you know exactly when a checklist item means “call a pro.”
Quick Answer
A Milwaukee garage door checklist should focus on lubrication, bottom seal integrity, and visual inspection of cables and rollers, weighted toward the cold months when freeze damage is most likely. Test the bottom seal before the first hard freeze, lubricate the torsion springs and hinges with a silicone- or lithium-based product (never WD-40) in late fall, and visually inspect cables and rollers monthly. Anything touching spring hardware or high-tension cables is a professional job, not a homeowner task.
Styles & brands we work with
- Raised-panel steel
- Carriage house
- Modern flush
- Full-view glass
- LiftMaster openers
- Chamberlain openers
Table of Contents
- Month-by-Month Tasks Anchored to Milwaukee’s Seasons
- The Right and Wrong Lubricants for Cold-Climate Doors
- Bottom Seal Integrity: The Pre-Freeze Test Homeowners Skip
- Visual Inspection Protocol for Cables and Rollers
- How to Test Door Balance Without Touching Spring Hardware
- Opener and Safety-Reverse Checks You Can Do
- When a Checklist Item Means “Call a Pro”
- Common Mistakes to Avoid
Month-by-Month Tasks Anchored to Milwaukee’s Seasons
A garage door in Milwaukee doesn’t fail evenly across the year. The cold months do the damage and the warm months are for catching up. This schedule follows that pattern rather than the manufacturer default of two generic tune-ups. Adjust a few weeks either way depending on how the season is running.
October: The Pre-Winter Lockdown
This is the most important month on the calendar. Before the first hard freeze, lubricate the torsion spring, hinges, rollers and tracks with a silicone- or lithium-based lubricant. Test the bottom seal for cracks. Tighten any visible bolts on the hinges and brackets by hand or with a socket (never over-tighten). Check that the weather seal around the door frame is intact. The goal here is to make the door work easily before the temperatures drop and everything stiffens up.
November through February: Monthly Checks
Once it’s cold, your job is observation, not repair. Every few weeks, run the door a cycle or two and listen for changes: a grinding, squealing or popping sound, a door that drops faster than it rises, or a bottom seal that’s clearly frozen to the floor when you open. Visually check that the seal isn’t torn and that no daylight shows through the sides. Don’t climb the ladder to relubricate in sub-zero temps, and never spray liquid in cold weather; the cold can make some products gel or stiffen springs further.
March through May: The Spring Thaw Check
Freeze-thaw cycles in Milwaukee stress the slab and the door frame as much as the door itself. In spring, look for a bottom seal that’s been deformed or torn by ice, rust starting on the hinges and rollers, and any groundwater intrusion at the garage floor that could be washing out the seal. Run the safety-reverse test once things warm up. This is also a good time to book a professional tune-up if you’d rather have the door checked over after the winter run.
June through September: The Deep-Clean Window
Warm weather is when you can spend time on the door safely. Clean the tracks with a damp cloth, wipe the panels down, and re-lubricate hinges and rollers. Check that the tracks are straight and plumb by sight and feel. If the door looks like a Clopay, Amarr, Wayne Dalton or Craftsman, take a moment to note the brand, because you’ll want that on hand if a pro is ever needed. Summer is also the best window to plan a new door installation if the door is showing signs of end-of-life, since installation is measured, ordered and scheduled rather than same-day.
A full picture of the repair side, including what’s covered on a service visit, lives on our garage door repair page.
The Right and Wrong Lubricants for Cold-Climate Doors
The single most damaging maintenance mistake we see is using the wrong lubricant on a torsion spring. Spring hardware is under extreme tension, and a cheap or petroleum-based spray will attract grit in summer and become sticky in the cold, both of which add friction to a part that can’t afford it. Once a spring binds, the load on it changes, and that’s when a slow problem becomes a snapped spring.
What to Use
- Silicone-based lubricant for the tracks and hinges. It won’t attract dust and stays put through cold.
- Lithium grease or a white lithium spray for hinges and rollers. These hold up well in freezing temperatures, and a little is enough.
- Spring-specific lubricant or a light coating of white lithium on the torsion spring (one pass, not a soaking).
- A dry cloth for wiping down tracks before and after. Tracks should be clean and slightly lubricated, never greasy.
What to Avoid
- WD-40 (the classic blue-and-yellow can). It’s a solvent, not a lubricant, and it will strip the factory lubricant off moving parts. It’s not the answer on a torsion spring or anywhere else on the door.
- Engine oil or motor grease. Too thick for the tracks and it turns to gunk in cold.
- Graphite powder in wet or snowy conditions. It makes a mess and doesn’t protect against freezing.
- Any spray lubricant in sub-zero temperatures. A cold can, cold spring and cold door don’t respond well to an amateur spray-down.
One rule that saves people a service call: apply lubricant thinly and evenly. Too much is worse than too little, because excess attracts grit that works its way into hinges and rollers.
Bottom Seal Integrity: The Pre-Freeze Test Homeowners Skip
The bottom seal is the most overlooked part on the whole door, and in Milwaukee it takes more abuse than anywhere else on the system. It sits on the coldest part of the floor, gets wet from snowmelt and spring rain, and freezes to the slab on the first cold night. A tired seal means cold air and water in the garage and, worse, a door that can bind as the frozen weather seal is peeled up on the first open.
The Pre-Freeze Test (Do This in October)
- Close the door fully and stand in the garage with the lights off.
- Look at the floor line from both inside and outside if you can safely. No daylight should show at the bottom or the sides.
- Slide a piece of paper under the closed door along the seal. If it slides out easily in spots where it shouldn’t, the seal has gaps or is worn.
- Feel the seal with a gloved hand for cracks, tears, flattening or a section that’s been deformed by ice.
- Look for water stains on the garage floor near the door, drips down the door frame, or the smell of damp. These point to seal failure.
If the seal is cracked or flattened, it needs replacing before the first freeze, not after. Replacing a bottom seal is one of the safer do-it-yourself jobs on the door, but if the seal is glued to a fixed bottom section and the door is pre-1992, don’t cut into the seal; it may be a legacy part tied to older manufacturing and should be checked by a pro.
Why This Matters in Milwaukee Specifically
Freeze-thaw cycles crack a worn seal faster than a steady cold spell. Snowmelt on the apron and pooled meltwater under the door find every gap, then freeze overnight and expand. Come morning, the seal is stuck to the slab or deformed. Keep a fresh seal on the door and you avoid a surprising number of January service calls.
Visual Inspection Protocol for Cables and Rollers
Cables and rollers give you warning signs weeks before they fail, but only if you know how to look. The important thing is to inspect without touching the hardware. A cable under load is under dangerous tension, and the spring assembly above the door is the most dangerous part of the entire system. Look with your eyes and a flashlight, not your hands.
The 2-Minute Visual Check
- Stand back and look at both cables running down either side of the door. They should sit evenly against the drum with no slack on one side and tension on the other.
- Look for fraying. A cable is a bundle of small steel strands. Fraying shows as a “fuzz” or a broken strand poking out. Any fray at all means the cable has begun to fail.
- Look for kinks, birdcaging or rust along the cable length. Kinks are a sign the cable has jumped the drum at some point.
- Check the rollers at each hinge. Rollers should turn freely and sit centered in the track. A flat spotted, cracked or wobbling roller is a wear item that goes bad faster in cold.
- Look at the tracks. Sight down each track. Any kink, crease or section that’s pulled away from the frame is a sign the door has taken a hit or is out of adjustment.
- Look at the springs (from the ground, never on a ladder). A broken torsion spring shows as a clear gap in the coil. A stretched extension spring shows as a visibly longer coil than the other side.
If any of these checks turn up a frayed cable, a broken spring, a bent track or a roller that’s clearly failed, stop cycling the door. A door with a broken spring or compromised cable can drop without warning. That’s the point where the checklist hands off to a professional.
The same visual protocol is exactly what a trained technician runs in Milwaukee on every call, alongside a full balance and safety test.
How to Test Door Balance Without Touching Spring Hardware
A balanced door is the single best sign that the spring hardware is doing its job. An unbalanced door puts extra strain on the opener and shortens the life of the spring. The test is simple and safe as long as you follow the steps and don’t touch spring or cable hardware at any point.
- Disconnect the opener using the manual release (the rope or red handle hanging from the rail). Only do this when the door is fully closed and no one is under it.
- Lift the door by hand to about waist height and stop. The door should stay where you leave it without dropping.
- Lift to about chest height and stop. Same test: the door should hold.
- Raise the door all the way up and let it rest. A balanced door sits fully open with no resistance.
- Lower the door gently. If it drops on its own, falls faster on one side, or has to be manhandled to get up or down, the spring isn’t doing its share of the work.
- Reconnect the opener and run a full cycle to confirm the door travels smoothly.
If the door falls, slams or needs to be forced, stop and call a pro. What’s almost always wrong is spring tension, and spring tension is not something a homeowner should adjust. A torsion spring is under enough stored energy to cause serious injury if it slips, and today’s springs carry more load than older ones. That’s a hard line. Stay on the safe side of it.
Opener and Safety-Reverse Checks You Can Do
The opener is where smart-home features, legacy systems and Wi-Fi remotes all meet, and it’s the part of the system you can safely check yourself. Most “the door won’t close” calls turn out to be a sensor or a safety-reverse problem, not a shot opener. Our garage door opener repair team sees this pattern weekly, and it’s worth a two-minute check before you book a service call.
The Safety-Reverse Test
- Place a sturdy object (a 2×4 laid flat works) on the floor in the path of the door.
- Close the door using the wall control or remote.
- Watch the door reverse when it contacts the object. It should stop and reverse immediately, without hesitation.
- Test the photo-eye sensors by waving an object in front of one sensor while the door is closing. The door should reverse. If not, check that the sensors are aligned (a small LED on each should be solid, not blinking) and that nothing is blocking the beam.
- Check the wall control to make sure the remote and wall button do the same job. If one fails and the other works, you’ve narrowed it down to the remote or the receiver, not the opener.
Smart-Home and Legacy Systems
Wi-Fi-enabled openers from LiftMaster, Chamberlain and Genie need their firmware and app connections checked now and then. Legacy Craftsman and Raynor openers need a visual check of the chain or belt and a listen for a change in motor sound. The opener itself usually lasts longer than the springs, but a strained motor will burn out faster if the door is out of balance, which is why a balance test is part of the maintenance beat, not a separate job.
When a Checklist Item Means “Call a Pro”
The most useful skill in home maintenance is knowing where your list ends. Here’s the line. If any of these show up, stop and call a professional garage door technician.
- Any visible gap in a torsion spring or a stretched extension spring. A broken spring means the door shouldn’t be cycled until it’s replaced.
- Any fray, kink or slack cable. Cables under load can snap and cause serious injury.
- A door that won’t balance after the balance test above. Spring tension adjustment is a pro job, full stop.
- A bent or pulled track. Forcing it back by hand can pop a roller or drop the door.
- A door that reverses or stops on its own and doesn’t fix after a sensor alignment and a fresh battery in the remote. That’s a mechanical or opener fault, and diagnosing it is a technician’s job.
- A bottom seal that’s failed before the first freeze, and a door that’s frozen to the floor. Call before forcing it up.
- A door over ten years old with a new symptom like grinding, thumping or uneven travel. That’s a full mechanical check, not a tune-up.
We work on the brand already in your garage, so a call doesn’t mean starting over with an unfamiliar door. Whether it’s a Clopay, Amarr, Wayne Dalton, Craftsman, or a modern smart opener, our technicians have up to 15 years of experience and can pick up the diagnosis from there. If you’d rather sort out the whole system in one visit, Honor Garage Door Repair covers repair, opener service and install.
Common Mistakes to Avoid
- Spraying WD-40 on the spring or tracks. It feels like lubrication but it’s a solvent, and it strips the factory lubricant off. In a Milwaukee winter, that means a stiff spring and a higher risk of a failure.
- Skipping the bottom seal check until the door freezes to the floor. By then you’re in a January call. Check the seal in October, before the first hard freeze.
- Forcing the door when it’s stuck. If the door isn’t moving, it’s usually a frozen seal or a spring issue, and forcing it either tears the seal or risks dropping the door. Call a pro instead.
- Lubricating in sub-zero temperatures. The cold can make a spray gel up before it reaches the part, and relubricating a cold spring is a ladder job that can slip. Save it for a warm day, or book a tune-up.
- Adjusting spring tension by hand. A torsion spring carries enough stored energy to cause serious injury. This one is not a homeowner task, no matter what a video shows.
- Ignoring a bent track. A track that’s creased from a car bump or a storm will wear a roller flat, and eventually the door can come off its track.
- Assuming a newer door doesn’t need the checklist. Modern doors, including current Clopay, Amarr, Wayne Dalton and Craftsman models, still need lubrication and seal checks. The hardware is newer; the physics haven’t changed.
See the difference
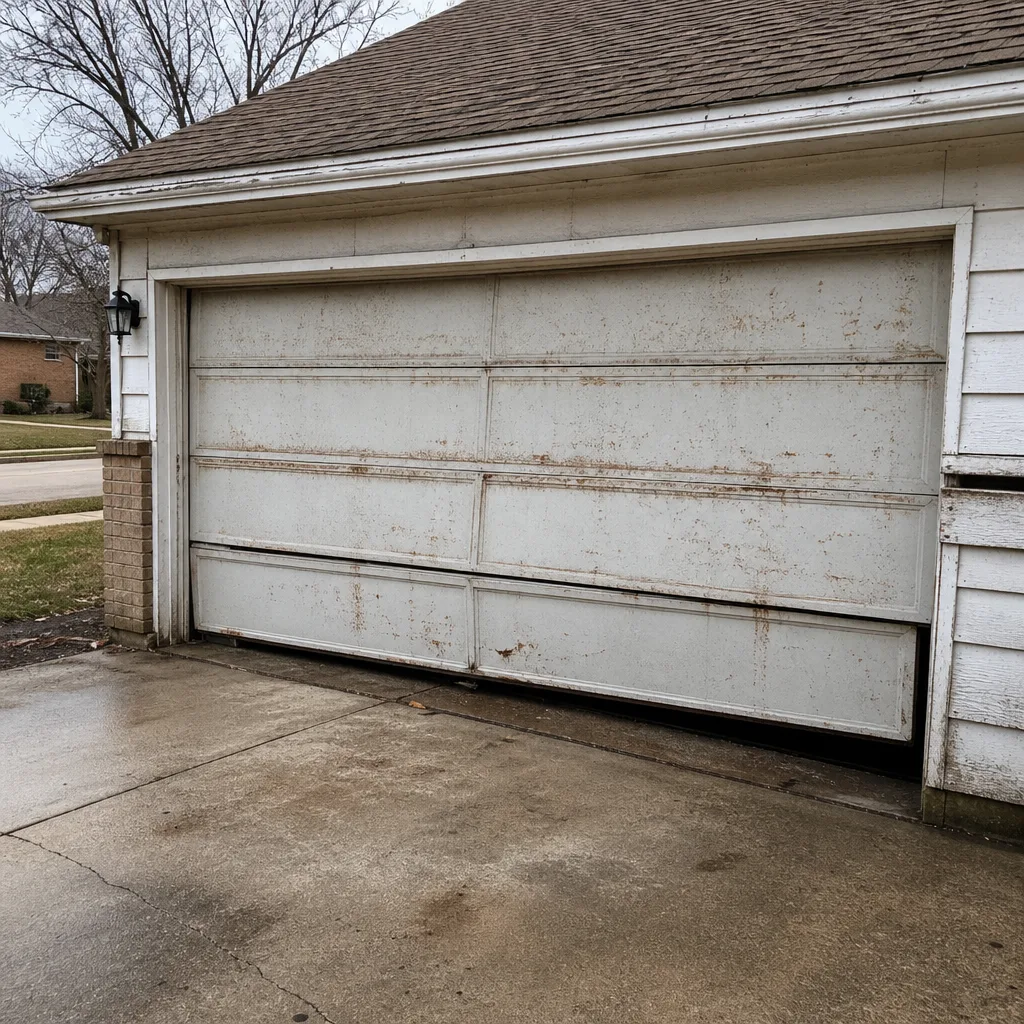 Before
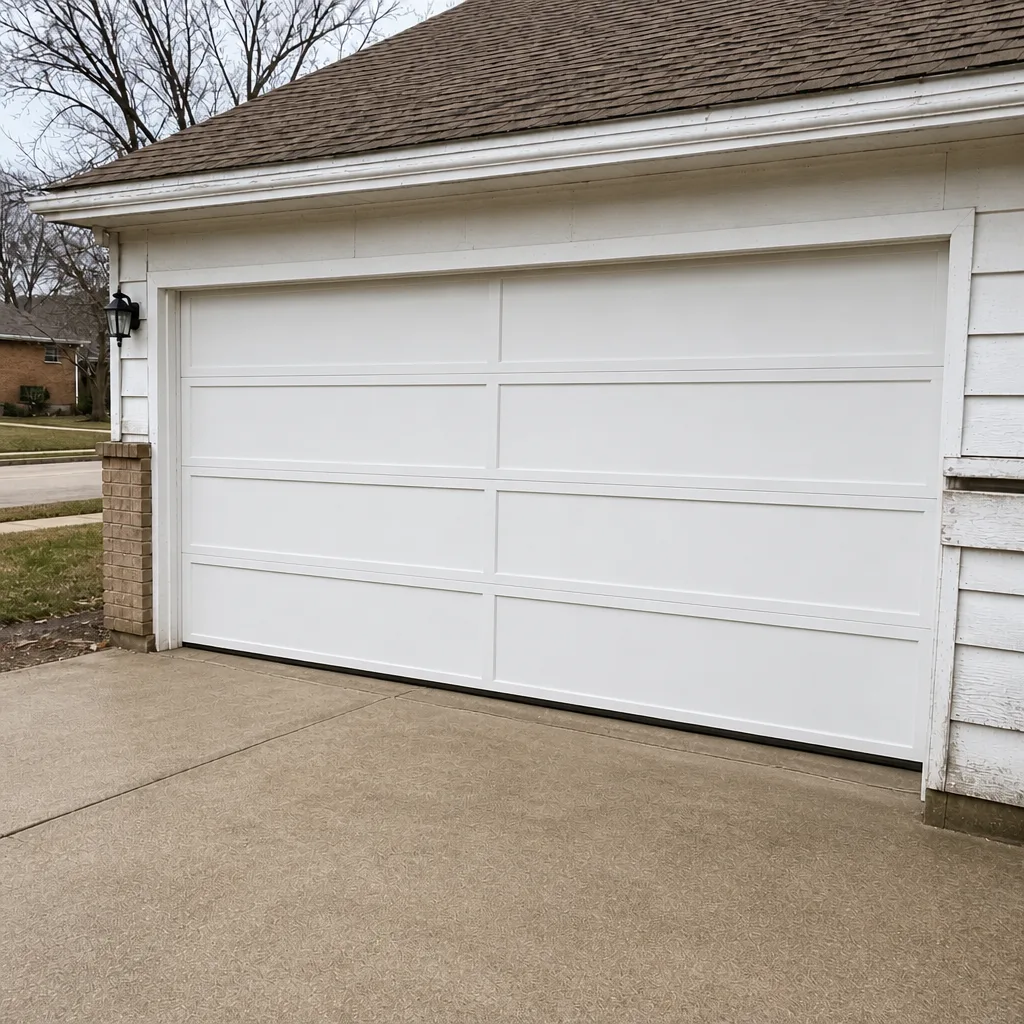 After
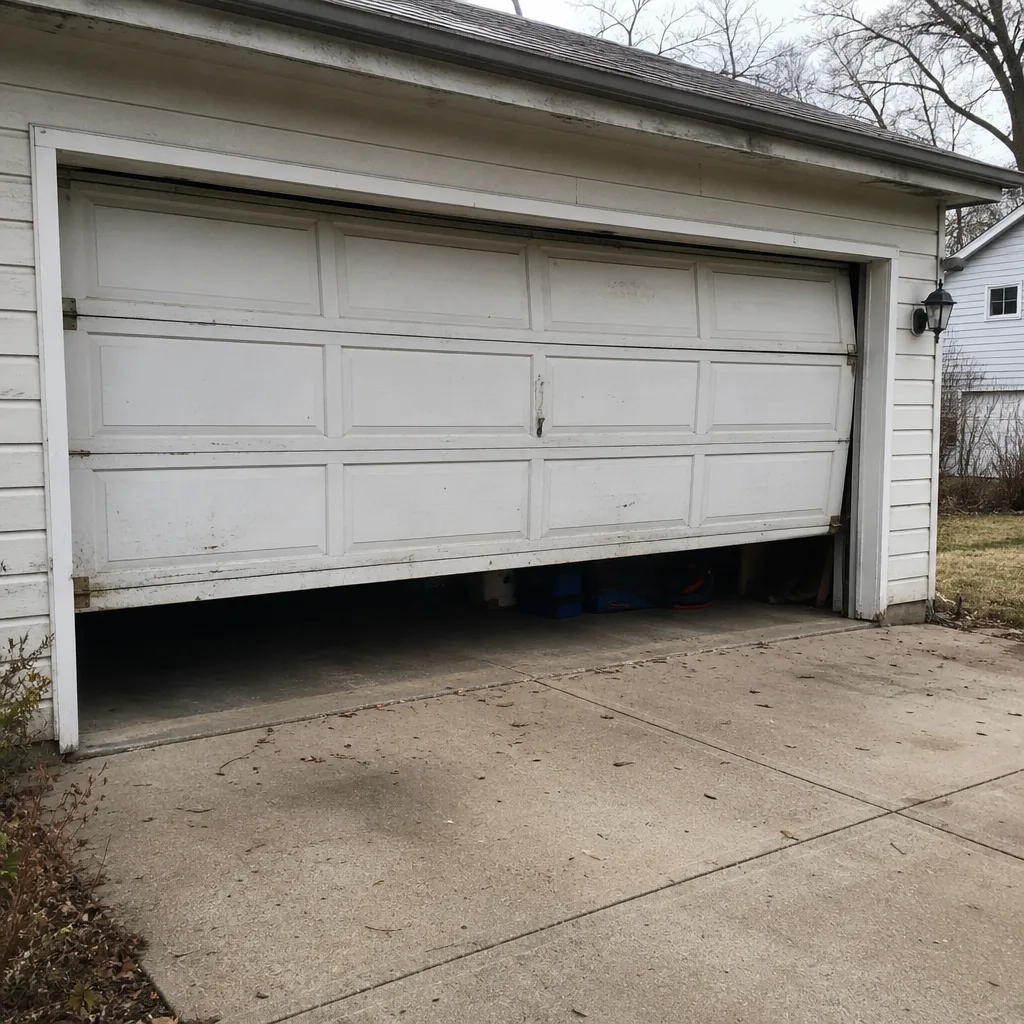 Before
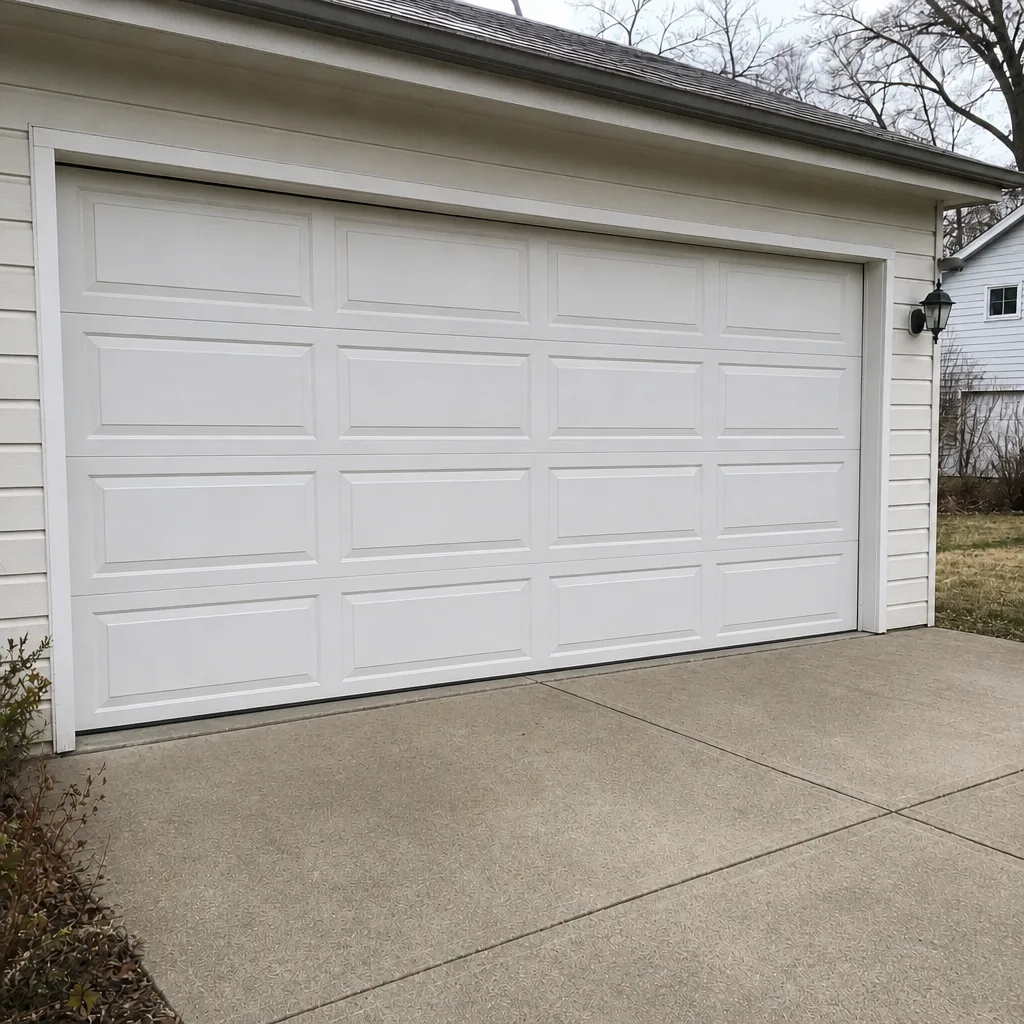 After
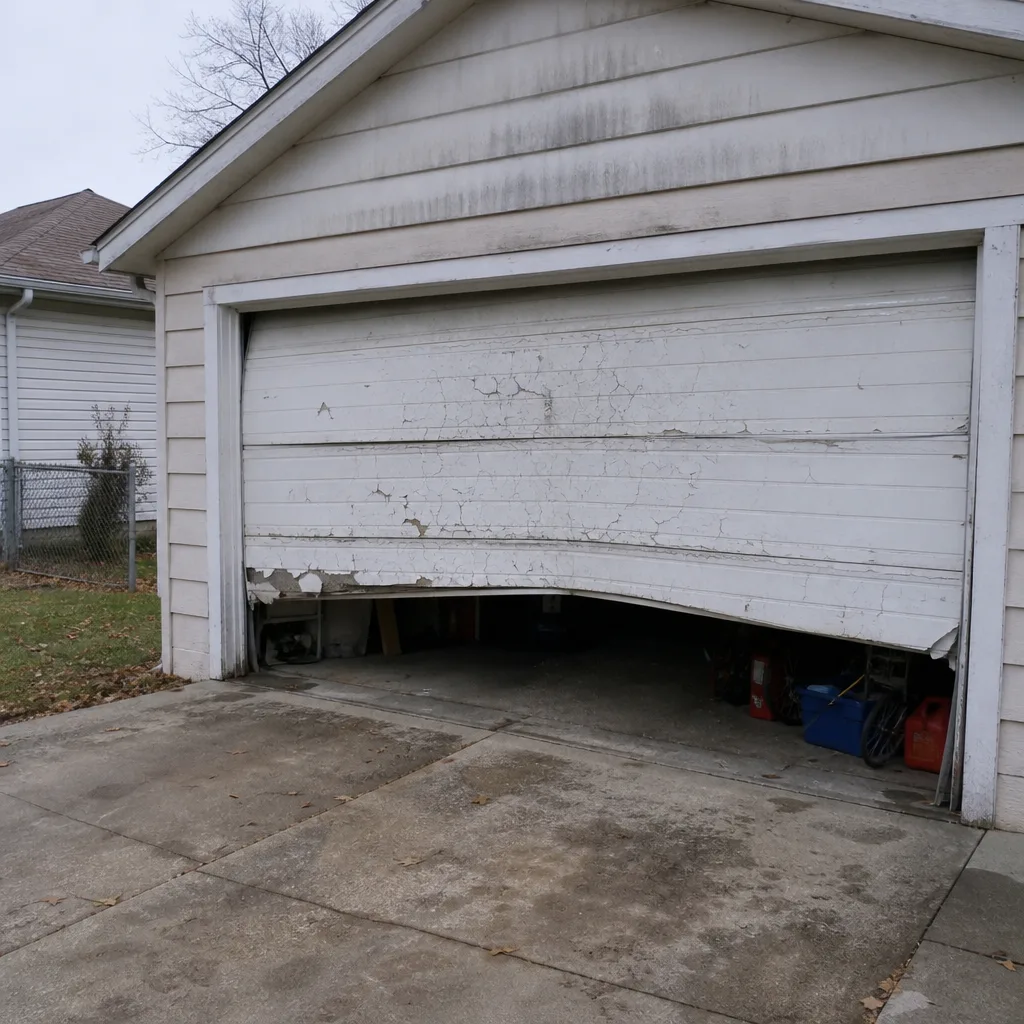 Before
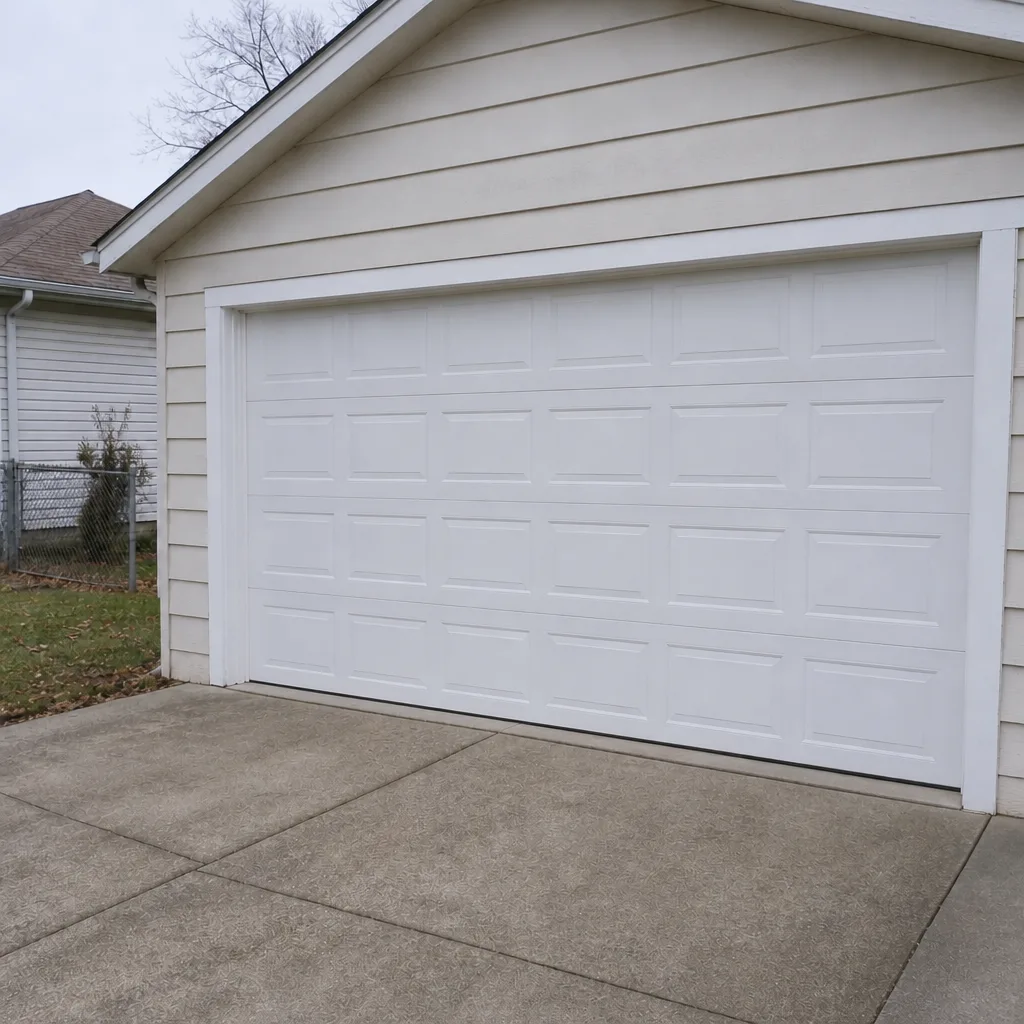 After
When to Call a Professional
Call a professional when the checklist turns up a broken spring, a frayed or kinked cable, a door that won’t balance, a track that’s been bent, or an opener that won’t respond after a sensor alignment and battery change. These are the scenarios where a homeowner trying to push through can turn a manageable repair into a dangerous one, or a repair into a replacement. Any time the door is stuck, frozen, or making a new noise, a service visit is the safer, faster route than chasing the symptom yourself.
Our technicians carry the brand knowledge for the door in front of them and can give you an honest assessment before any work begins. Honor Garage Door Repair offers free estimates in Milwaukee, and the price is quoted and agreed before anything is done. Call (866) 942-7695. We answer 24/7. Fast dispatch from 7am to 7pm, Sunday through Friday. If a call comes outside dispatch hours, we book it into the next opening.
What you can also count on: the name isn’t decoration. It means we say what we’ll do, then we do it, and the diagnosis comes before the recommendation. If your door needs a repair, an opener fix, or a new installation, one call covers it, and you won’t need to source a second company as needs change.
Frequently Asked Questions
Lubricate and inspect twice a year, with the most important pass in October before the first hard freeze and a follow-up in spring after the thaw. Clean the tracks and check the safety reverse monthly through the cold months, and run a visual cable and roller inspection once a month. A professional tune-up once a year catches what a homeowner can’t safely check, including spring condition and balance.
Silicone-based lubricant for tracks and hinges, and white lithium grease for rollers and the torsion spring. Avoid WD-40, engine oil, and graphite; they either strip factory lubricant or turn gummy in the cold. A thin, even coat is better than a heavy one. Call (866) 942-7695 if you’d rather have a technician handle the lubrication as part of a tune-up. Estimates are free.
Do the paper test. Close the door, then try to slide a piece of paper under it along the full width. If it slides out in spots where it shouldn’t, or you see daylight at the floor line, the seal has failed. Also check for cracks, flattening, or water stains on the floor. Call (866) 942-7695 if you’re not sure what you’re seeing; a free estimate is the fastest answer.
No. Torsion springs are under extreme tension and a slip can cause serious injury. The balance test is a diagnostic, not a repair. If the door falls or needs to be forced, stop cycling it and call a professional. Our technicians have up to 15 years of experience with spring replacement and can give you a written estimate before any work begins. Call (866) 942-7695.
In cold weather, the usual suspects are a photo-eye sensor that’s misaligned, a bottom seal that’s frozen to the floor, or a stiff spring that won’t let the door travel. Check the sensors first and clear any ice from the seal. If the door still won’t close, call a pro. We answer 24/7 and schedule fast dispatch from 7am to 7pm, Sunday through Friday.
Yes, mainly because a technician can safely inspect the spring assembly up close and check balance and tension at the same time. A homeowner checklist is deliberately limited to what’s safe from the ground. A tune-up also covers rollers, hinges and the opener in one visit. If you’d like to know what a repair visit includes, or want to plan for an opener or a full new door, call (866) 942-7695 for a free estimate.
The Bottom Line
Milwaukee’s cold months do more garage door damage than any other season, which is why this checklist is weighted toward October preparation and monthly winter observation rather than the generic spring/fall template. The pattern that saves the most calls: fresh bottom seal and a proper lubricant in October, a visual cable and roller check every month, a balance test after the thaw, and a hard stop before any spring or cable work. Use silicone and lithium-based products, never WD-40, and know the handoff criteria cold. When the checklist turns up a broken spring, a frayed cable or a door that won’t balance, that’s a professional visit, not a weekend project. The rest of the list is genuinely yours to own.
Written by the team at Honor Garage Door Repair.